Loading...
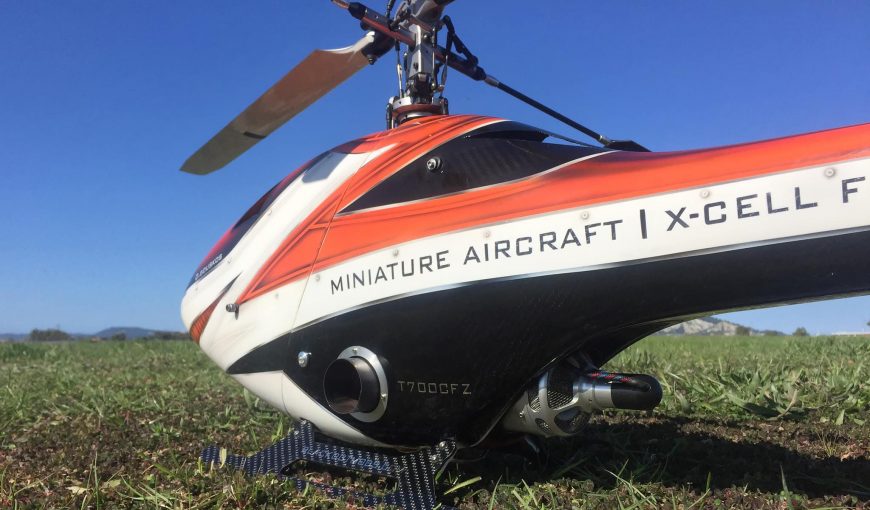
Hand Made Carbon Fiber Speed Fuselage Project for TURBINE Helicopter [PART1]
After a long time working on my Turbine conversion finally finished, maiden done & lots of flights enjoyed for a year..
But the anxious spirit of a modeler could not just finish there… something missing to be the project completed… Α fuselage!
The problem was that the fuselage i had in my mind ( especially for my helicopter – M.A. XCELL TEMPEST ) does not exist..
So i had to start a very long construction journey to build my vision from the scratch.
First of all I had to make a model of my fuselage design to be able to make a mold and then produce the final composite Fuselage Body using Composite Materials (Fiberglass – Carbon Fiber Fabrics & Epoxy resins).
The Design.
With respect to the design of a historical manufacturer – Miniature Aircraft U.S.A., I choose to follow the lines of the Original XCELL FURY’s Canopy Design and extend the lines back to the tail or something like that.. lol
The Plan was sounded too optimistic for me and my friends but finally this is all about RC Modeling.. Why not try it?
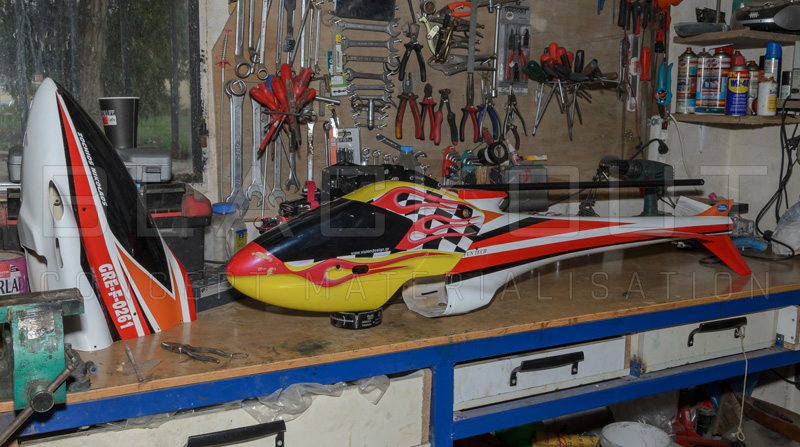
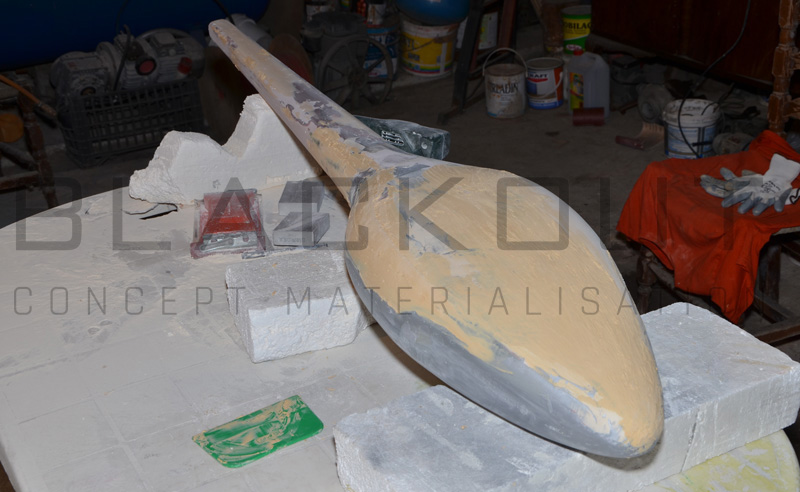
The idea was to combine an XCELL Canopy & the back section of a 700 class F3C Fuselage, fill the gaps, shape it and finally build a speed / aerobatic fuselage that will not mismatch with the Heli.
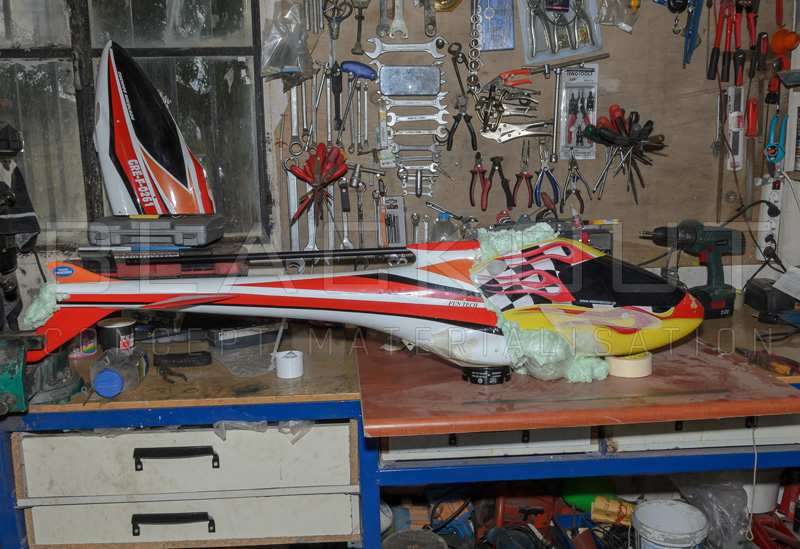
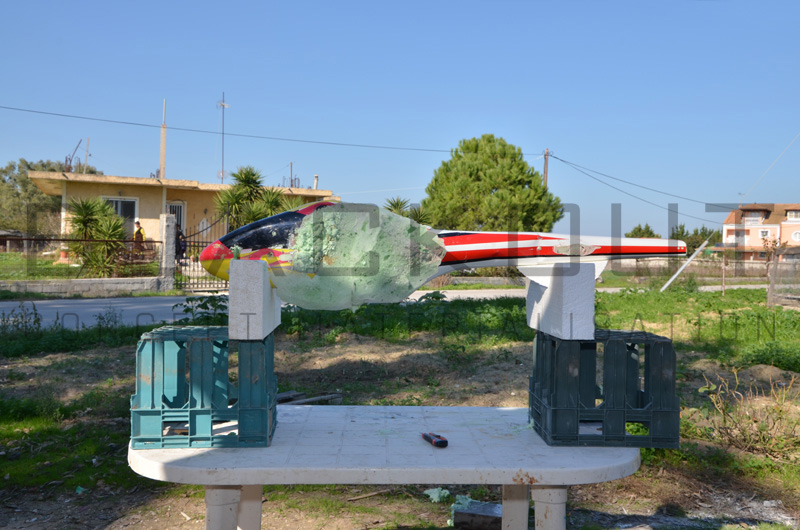
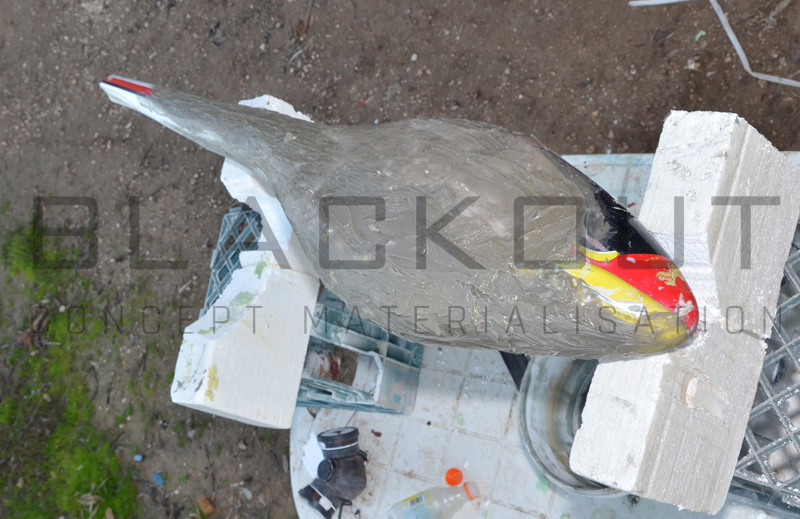
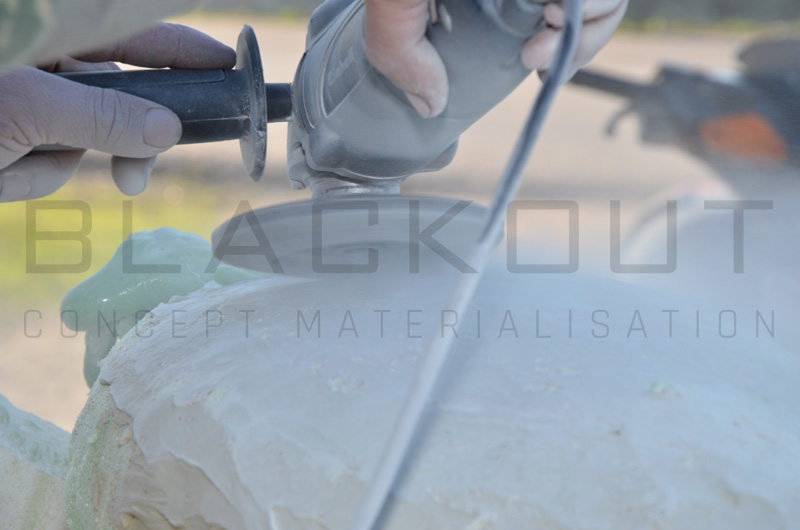
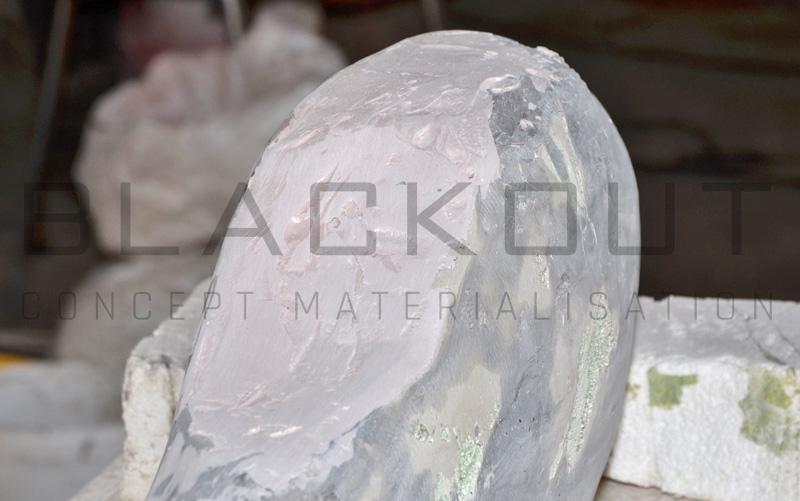
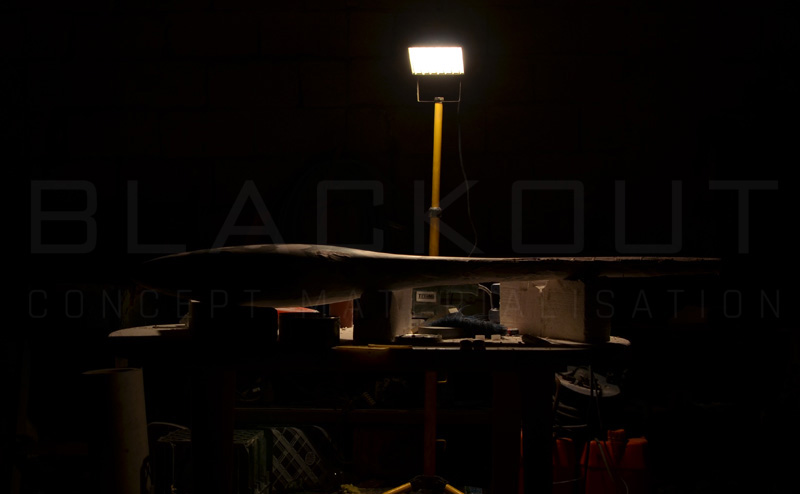
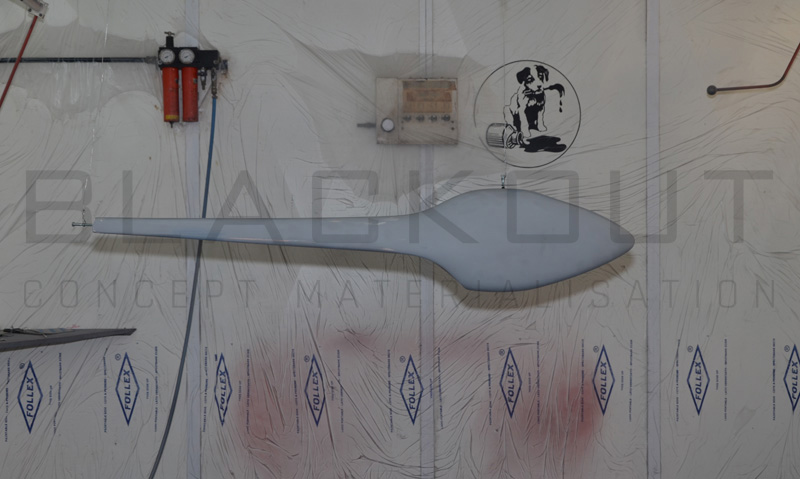
Model shaping.
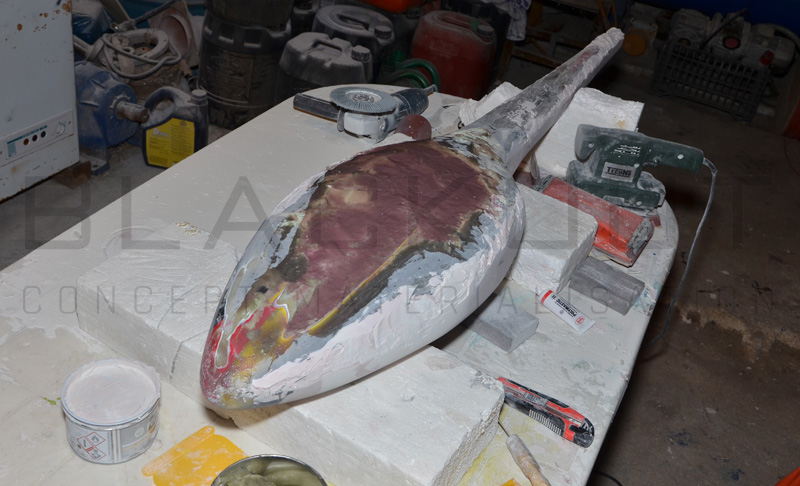
Coarsing and Sanding is a difficult issue to do.. Τhe symmetry and the dimensions must be perfect as possible otherwise the final Fuselage will be ugly and difficult to be mounted on the Heli..
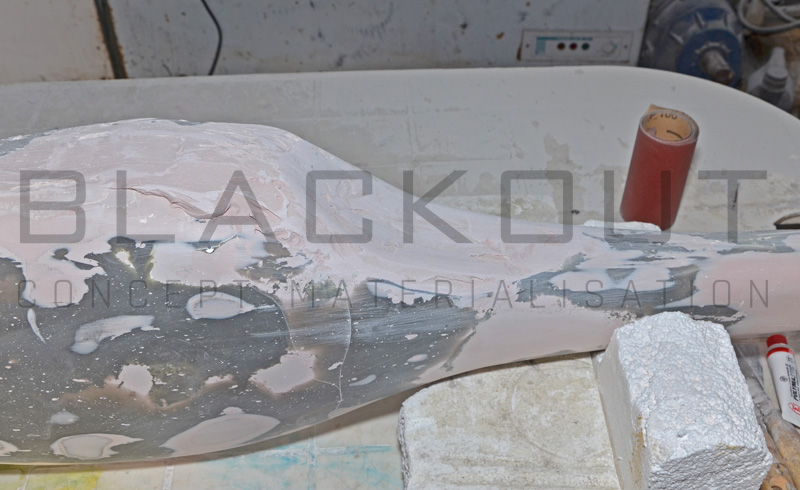
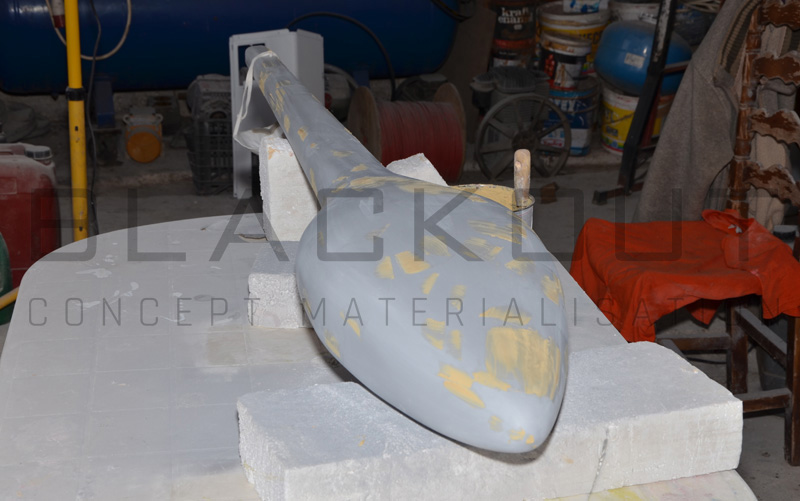
A lot of polyester putty and filler Primer used with lots of hand work on it..
Finally I made a nice but not perfect Model. With Hand tools is very difficult to be perfect as CNC but its ok..
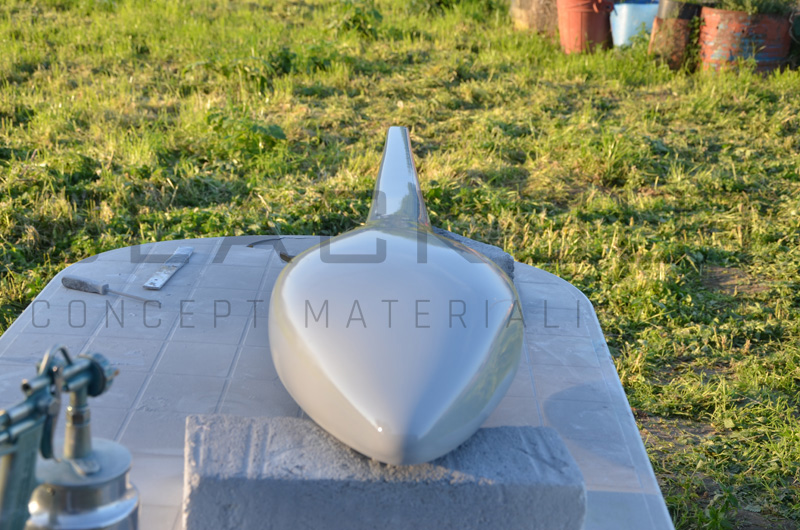
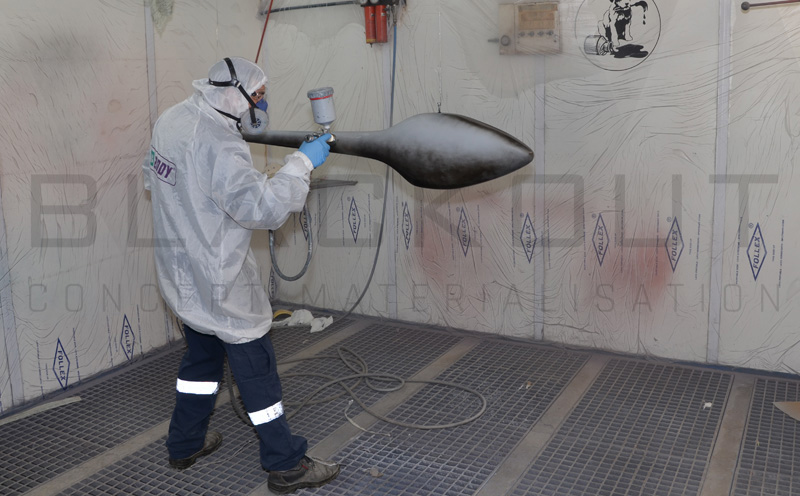
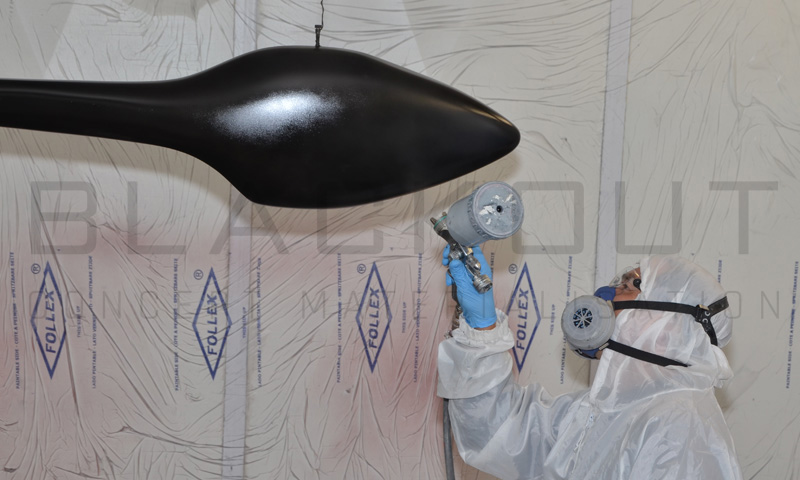
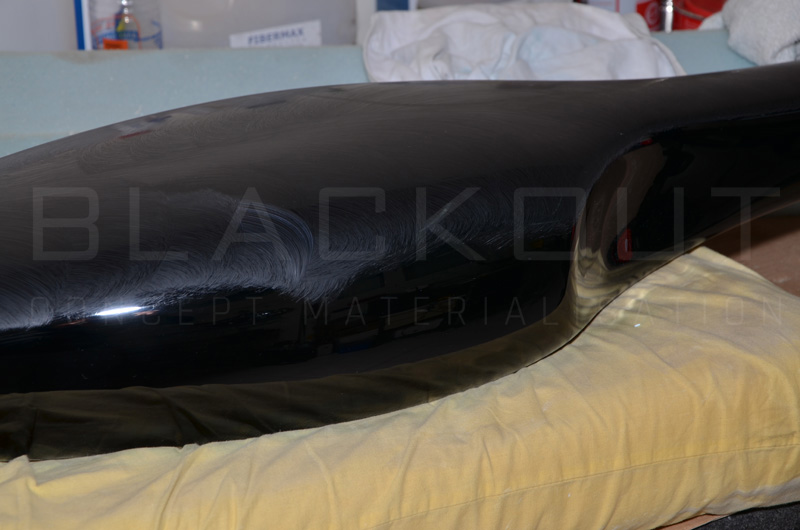
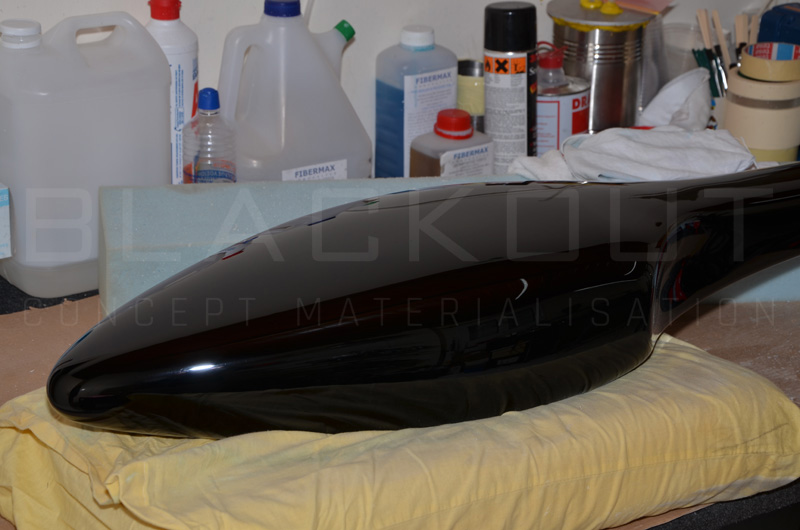
Model Painting.
Now it’s time for Painting.. With high quality automotive Black color will be able to have a nice surface to work next..
Special Thanks to Ioannis Mamfredas from Zakynthos Island for helping me with the painting Job.
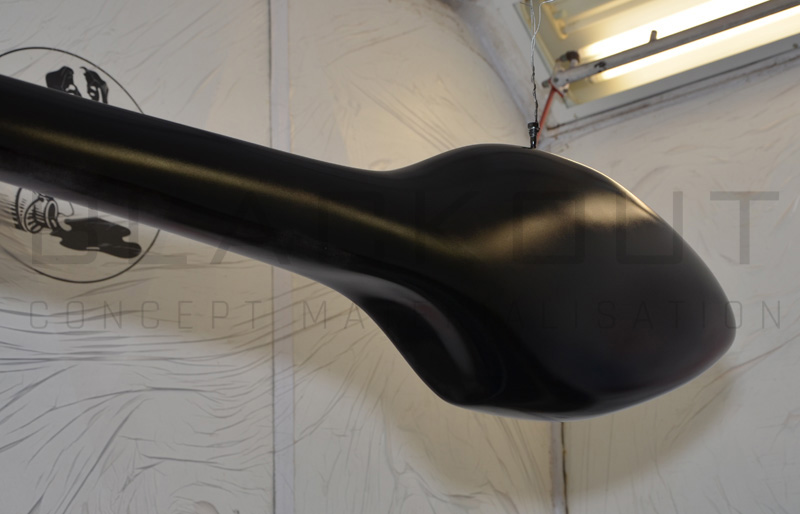

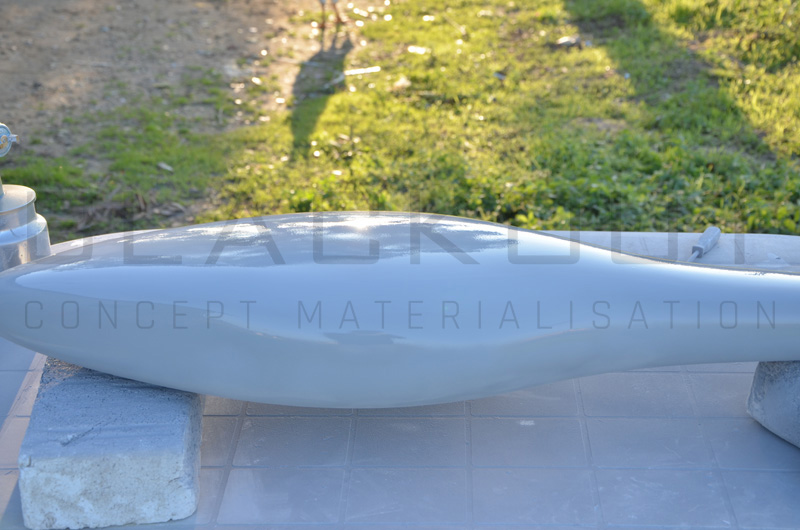
Model Finishing.
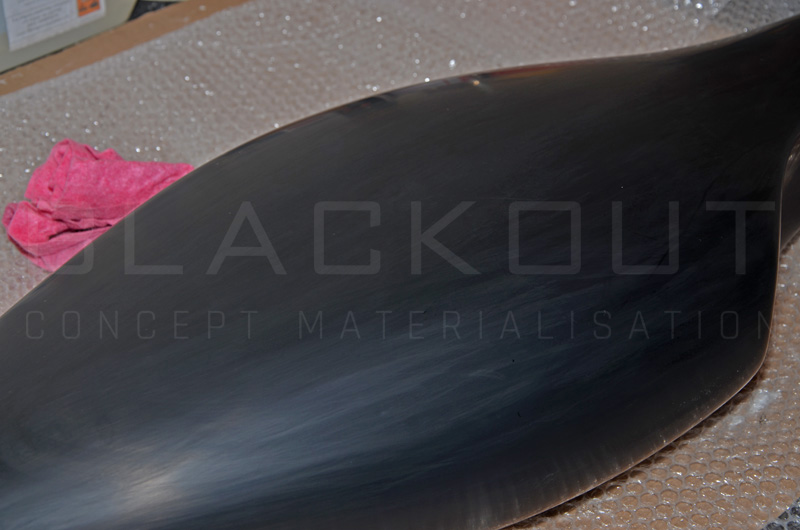
After the Painting Job, if we want a really perfect surface, we have not done yet…
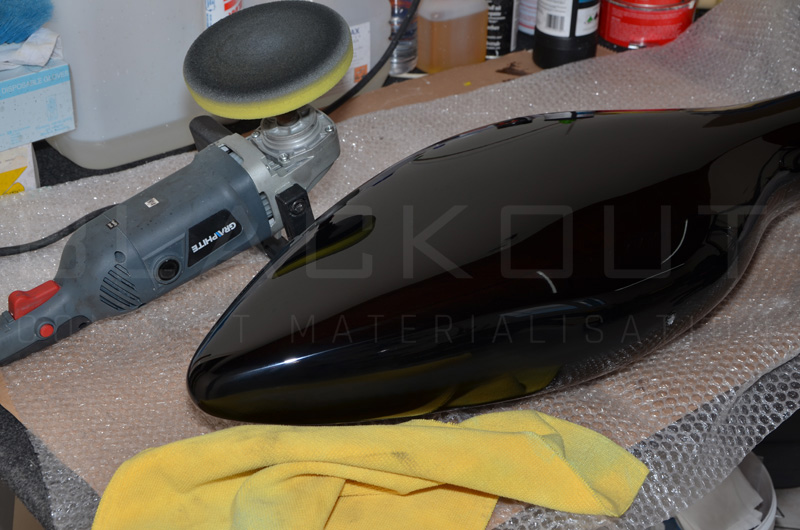
Polishing the Model is strongly recommended before the final preparation for the molding.
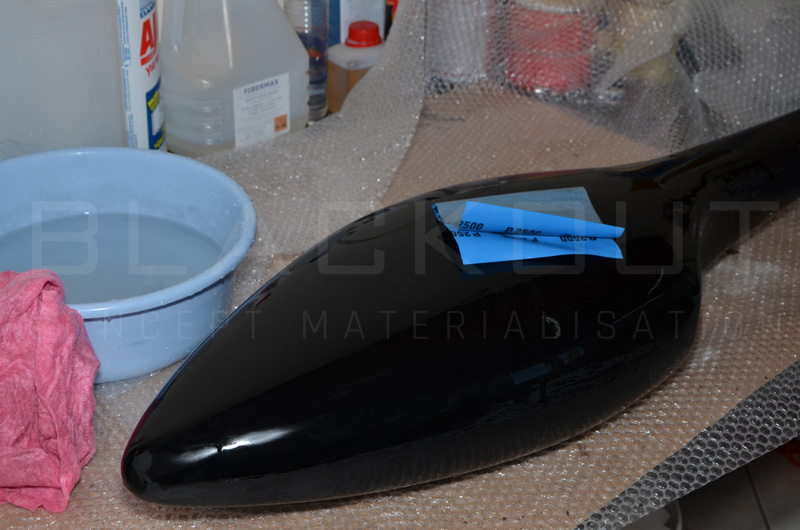
First must wet-sanding with sand paper UP to 2500 grid and then machine polishing with polishing paste..
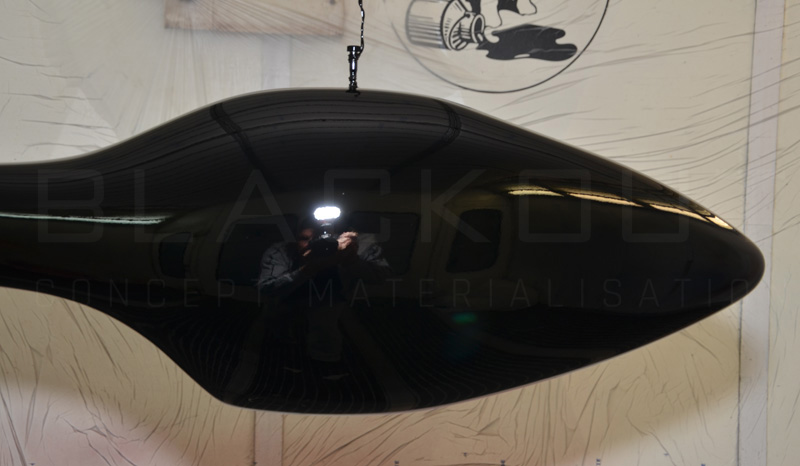
The result is a very fine gloss surface that you can see your self on it like a mirror!

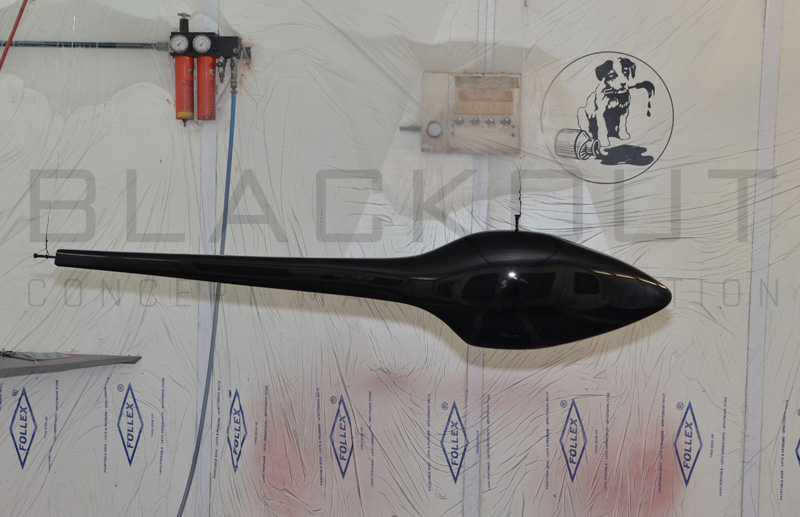
Model Preparation for Molding
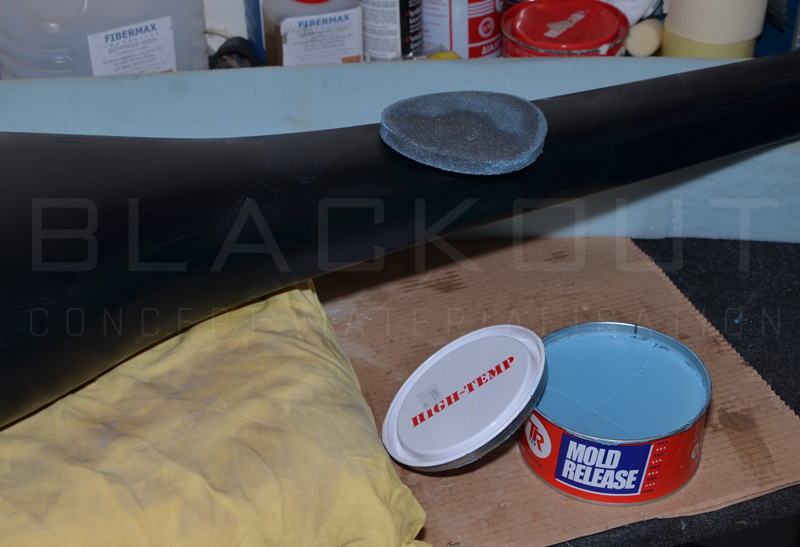
The final step before molding procedure is the release agent..
Without this procedure we can not make a mold. Waxing the model must be done with patience. Mold release Wax helps to seal microscopic pores of the Model’s surface and prevents the mold stick with the model.
I applied 10 Layers of TR-104 Mold Wax for safety..
To be continued..